


Tutorial: an Illustration from A to Z with Krita
- Youtube: https://youtu.be/uYdEkOyFUn8
- Peertube: Soon on the channel.
And here is the long 1h22min Krita video tutorial fully commented as I promised on the last blog post with the artwork.
It's a real full lenght course suited to beginners, but also advanced digital painters. It starts from scratch with default set of brushes, preferences and break-down all the process. The repetitive parts while painting were all accelerated and can be skipped easily (a timer in overlay appears on display) Check the Timeline codes under to navigate in the video.
Subtitle are unfortunately not available, sorry for my (heavy) French accent and poor vocabulary. It was too long to write them this time. I hope the auto generation will work and you'll have not a lot of trouble to understand me mumbling sometime.
I recorded over 6h of material, and at the end I was totally brain washed. Painting and talking while recording really overheat my brain, and I also recorded that under a super hot weather, 39°C , and I had to turn of all the fans to reduce the noise on the microphone. That was a real challenge.
Big props also to the OBS studio team (for the recording software) and Kdenlive team (for the video editing software). Of course, to the Krita team too!
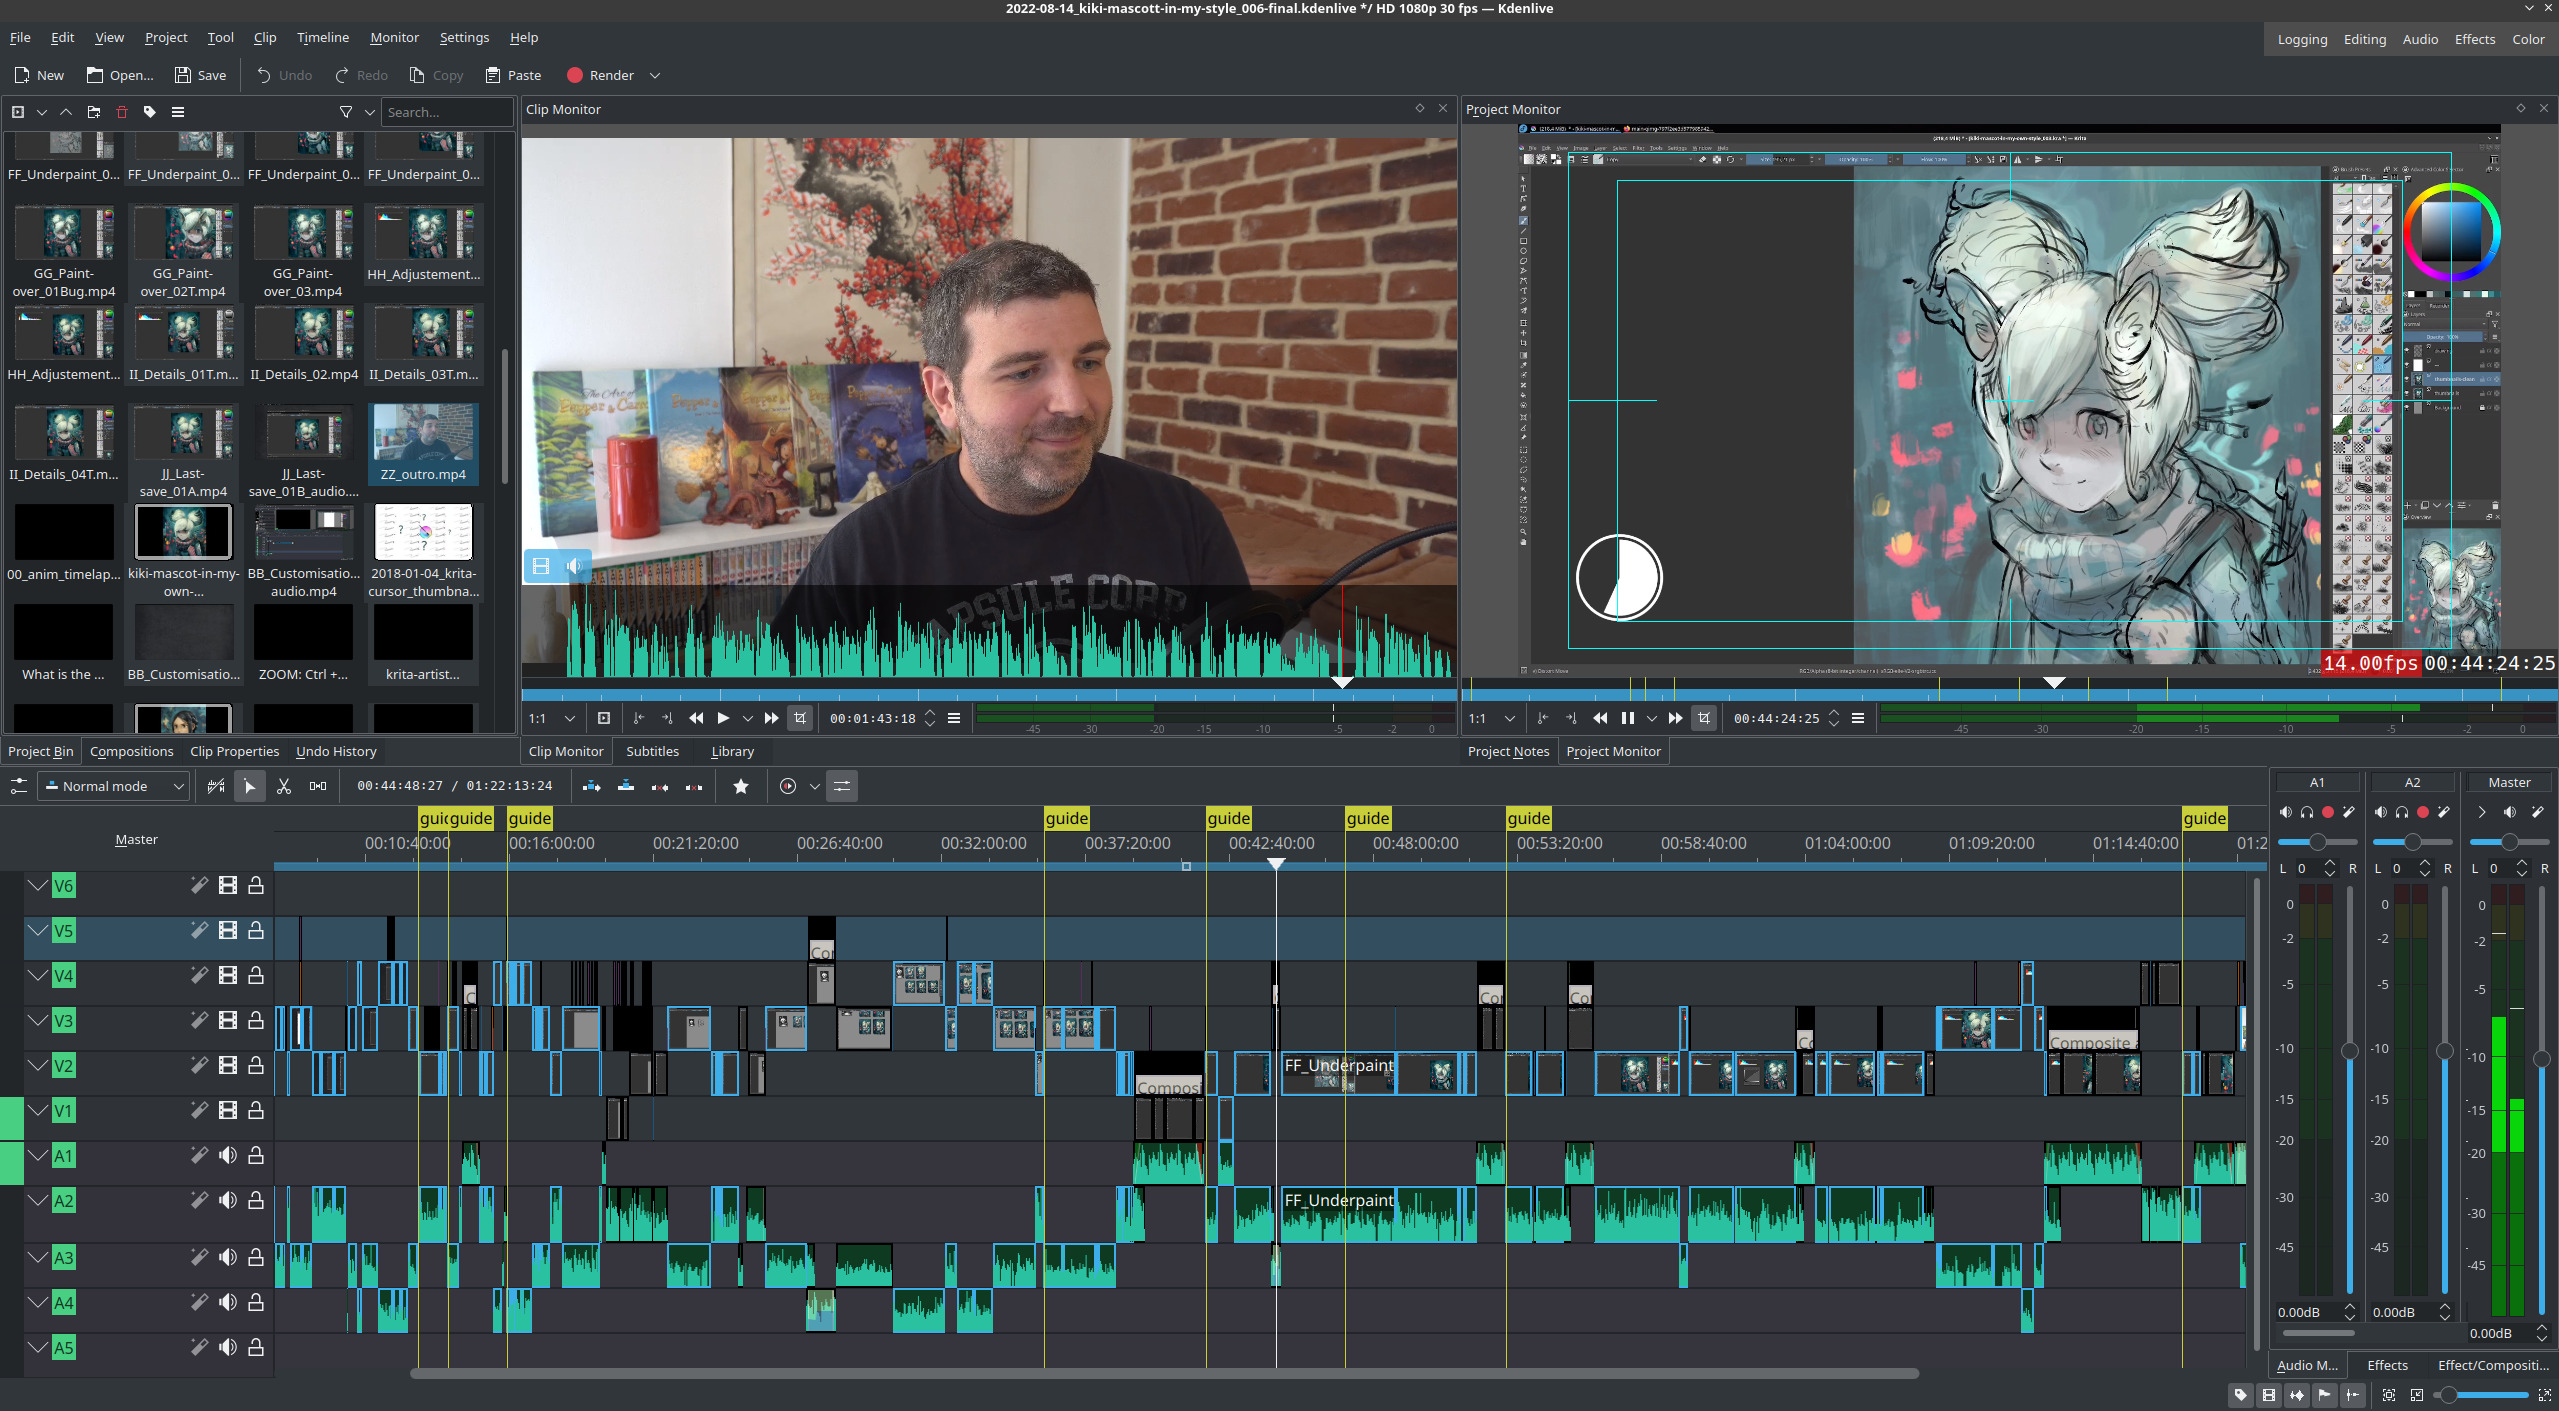
The video was done with OBS Studio and Kdenlive, editing 1h22 of video took a long long time and was epic!
Timeline, Table of Content:
I copy paste the TOC here, because it might help search engines to find a part of the video. If you open the video on Peertube or Youtube, the timecode should be dynamic and you can click to access quickly to a chapter.
- 00:00:00 Intro
- 00:00:40 Chapter 1, Customisation of the Krita Interface (Intro)
- 00:01:31 Reduce size of toolbar icon
- 00:01:57 The Advanced Color Selector
- 00:02:41 Two columns of dockers
- 00:03:37 From Tabs to Subwindows mode
- 00:05:10 Third Flow sliders, and new toolbar buttons
- 00:07:14 Canvas border background color
- 00:07:46 Brush outline and cursor
- 00:08:42 Tool Options, not as a docker but in toolbar
- 00:10:02 Document creation, A4@300dpi sRGB 8Bit
- 00:10:33 The Overview docker
- 00:11:23 Navigation on Krita canvas, with shortcuts
- 00:12:16 The Default brush presets set
- 00:12:37 Chapter 2, Finding the idea (Krita artist contest)
- 00:13:43 Chapter 3, References with BeeRef software
- 00:15:54 Chapter 4, Thumbnails
- 00:16:27 Basics of Krita (Fill, Transform, Selection)
- 00:19:35 About values in painting, the big "scheme" for portraits.
- 00:21:23 Starting to draw the thumbnails
- 00:24:20 Painting colors on the thumbnails
- 00:25:31 The Blending Modes (on brush) Overlay
- 00:29:17 Filters of Krita (Curves, HSV adjustement, Color Balance).
- 00:32:37 The concept of "Dirty" brush preset, and cleaning them.
- 00:35:47 Chapter 5, Drawing. Transform of the thumbnail, resolution and layer setup.
- 00:39:09 Drawing (Timelapse)
- 00:41:47 Chapter 6, Painting under the line-art
- 00:43:37 The Deform Brush Engine
- 00:45:20 "Grain Merge" blending-mode on the line-art
- 00:46:45 Introduction to creating brush presets
- 00:51:21 Brush usage, hard edge, spikes, glazing and replacing colors
- 00:51:50 Paint under, Timelapse
- 00:52:55 Chapter 7, Paint-Over (setup)
- 00:55:04 Paint-Over (timelapse)
- 00:56:11 Adjustements, and self-criticism
- 00:56:46 Values, Reading Histogram docker
- 00:59:21 Values, fixing with Curves filter
- 01:02:19 Color temperature, fixing with Color Balance filter
- 01:03:50 Background painting (timelapse)
- 01:04:22 Silhouetting the character with the Lighten Blending Mode (fog)
- 01:08:10 Paint-Over fix, removing the squirrel's hears (timelapse commented)
- 01:08:52 Lens Blur Effect for the depht of field (Filter Mask).
- 01:11:46 A special thanks for the idea of the video
- 01:12:29 Another pass for thinner details (big timelapse)
- 01:16:27 (pre)Final, and saving/archiving the file.
- 01:17:56 Appendice, fix pushed "One day after" (timelapse)
- 01:19:55 The final artwork
- 01:20:05 Outro
- 01-21-58 Credits, Attributions and License
License: Creative Commons Attribution 4.0 International
Link to high resolution: https://www.davidrevoy.com/data/images/blog/2022/kiki-mascot-in-my-own-style_final.jpg
Credits:
Video and artworks by David Revoy
Kiki is a character design created by Tyson Tan (CC-By)
www.davidrevoy.com
Soundtrack:
- Intro: Fabian Measures - Hanami (CC-By) - www.soundcloud.com/fogheart
- Timelapse: Kevin MacLeod - Perspective (CC-By) - www.incompetech.com
- Outro: Kevin MacLeod - Backed Vibes Clean (CC-By) - www.incompetech.com
- SoundFX: Oriental Harp3 by Soughtaftersounds (CC-By) - Freesound
Edited with Kdenlive 21.04(appimage) on Fedora KDE 36

3 comments
I wanted to first say - thank you, for such a detailed tutorial from the very beginning.
I've moved to Linux and Fedora thanks to your recommendations - I'm loving it. I have not yet moved my art program - learning a new program is daunting. I'm still using Sai2 via Wine, which as you can guess, has it's ups and downs. But with this tutorial it feels familiar, like I will be able to learn Krita easier now.
While I illustrate, I have not painted much - I noticed when you painted, in your time lapses, you tend to change the "area" you are working on often, not focus in just one area. Eg from hair, to chin, to clothing, to hair, to nose, etc. Is there a reason for this approach? Is it personal for you or for a greater reason?
Thank you again, I'm going to be opening up Krita and seeing what I can create myself, now I feel more confident and able to start from zero and default!
Hey, thanks! True, I often switch from one area to another because I try to keep an eye on the overall (that's why I rarely zoom in), so I probably have idea of improvements to fix this area, then this one, then this one...etc. I try to not keep a part 'precious'.
I'm learning Krita, now!
Post a reply
The comments on this article are archived and unfortunately not yet connected to a dedicated post on Mastodon. Feel free to continue the discussion on the social media of your choice. Link to this post:You can also quote my account so I'll get a notification.
(eg. @davidrevoy@framapiaf.org on my Mastodon profile.)