


Overview of my Krita Digital Painting Workflow − end 2022
Video links:
▶ Peertube: https://peertube.touhoppai.moe/w/6GetvC3grjMRdFooDDMe62
▶ Youtube: https://youtu.be/kisT96h5h80
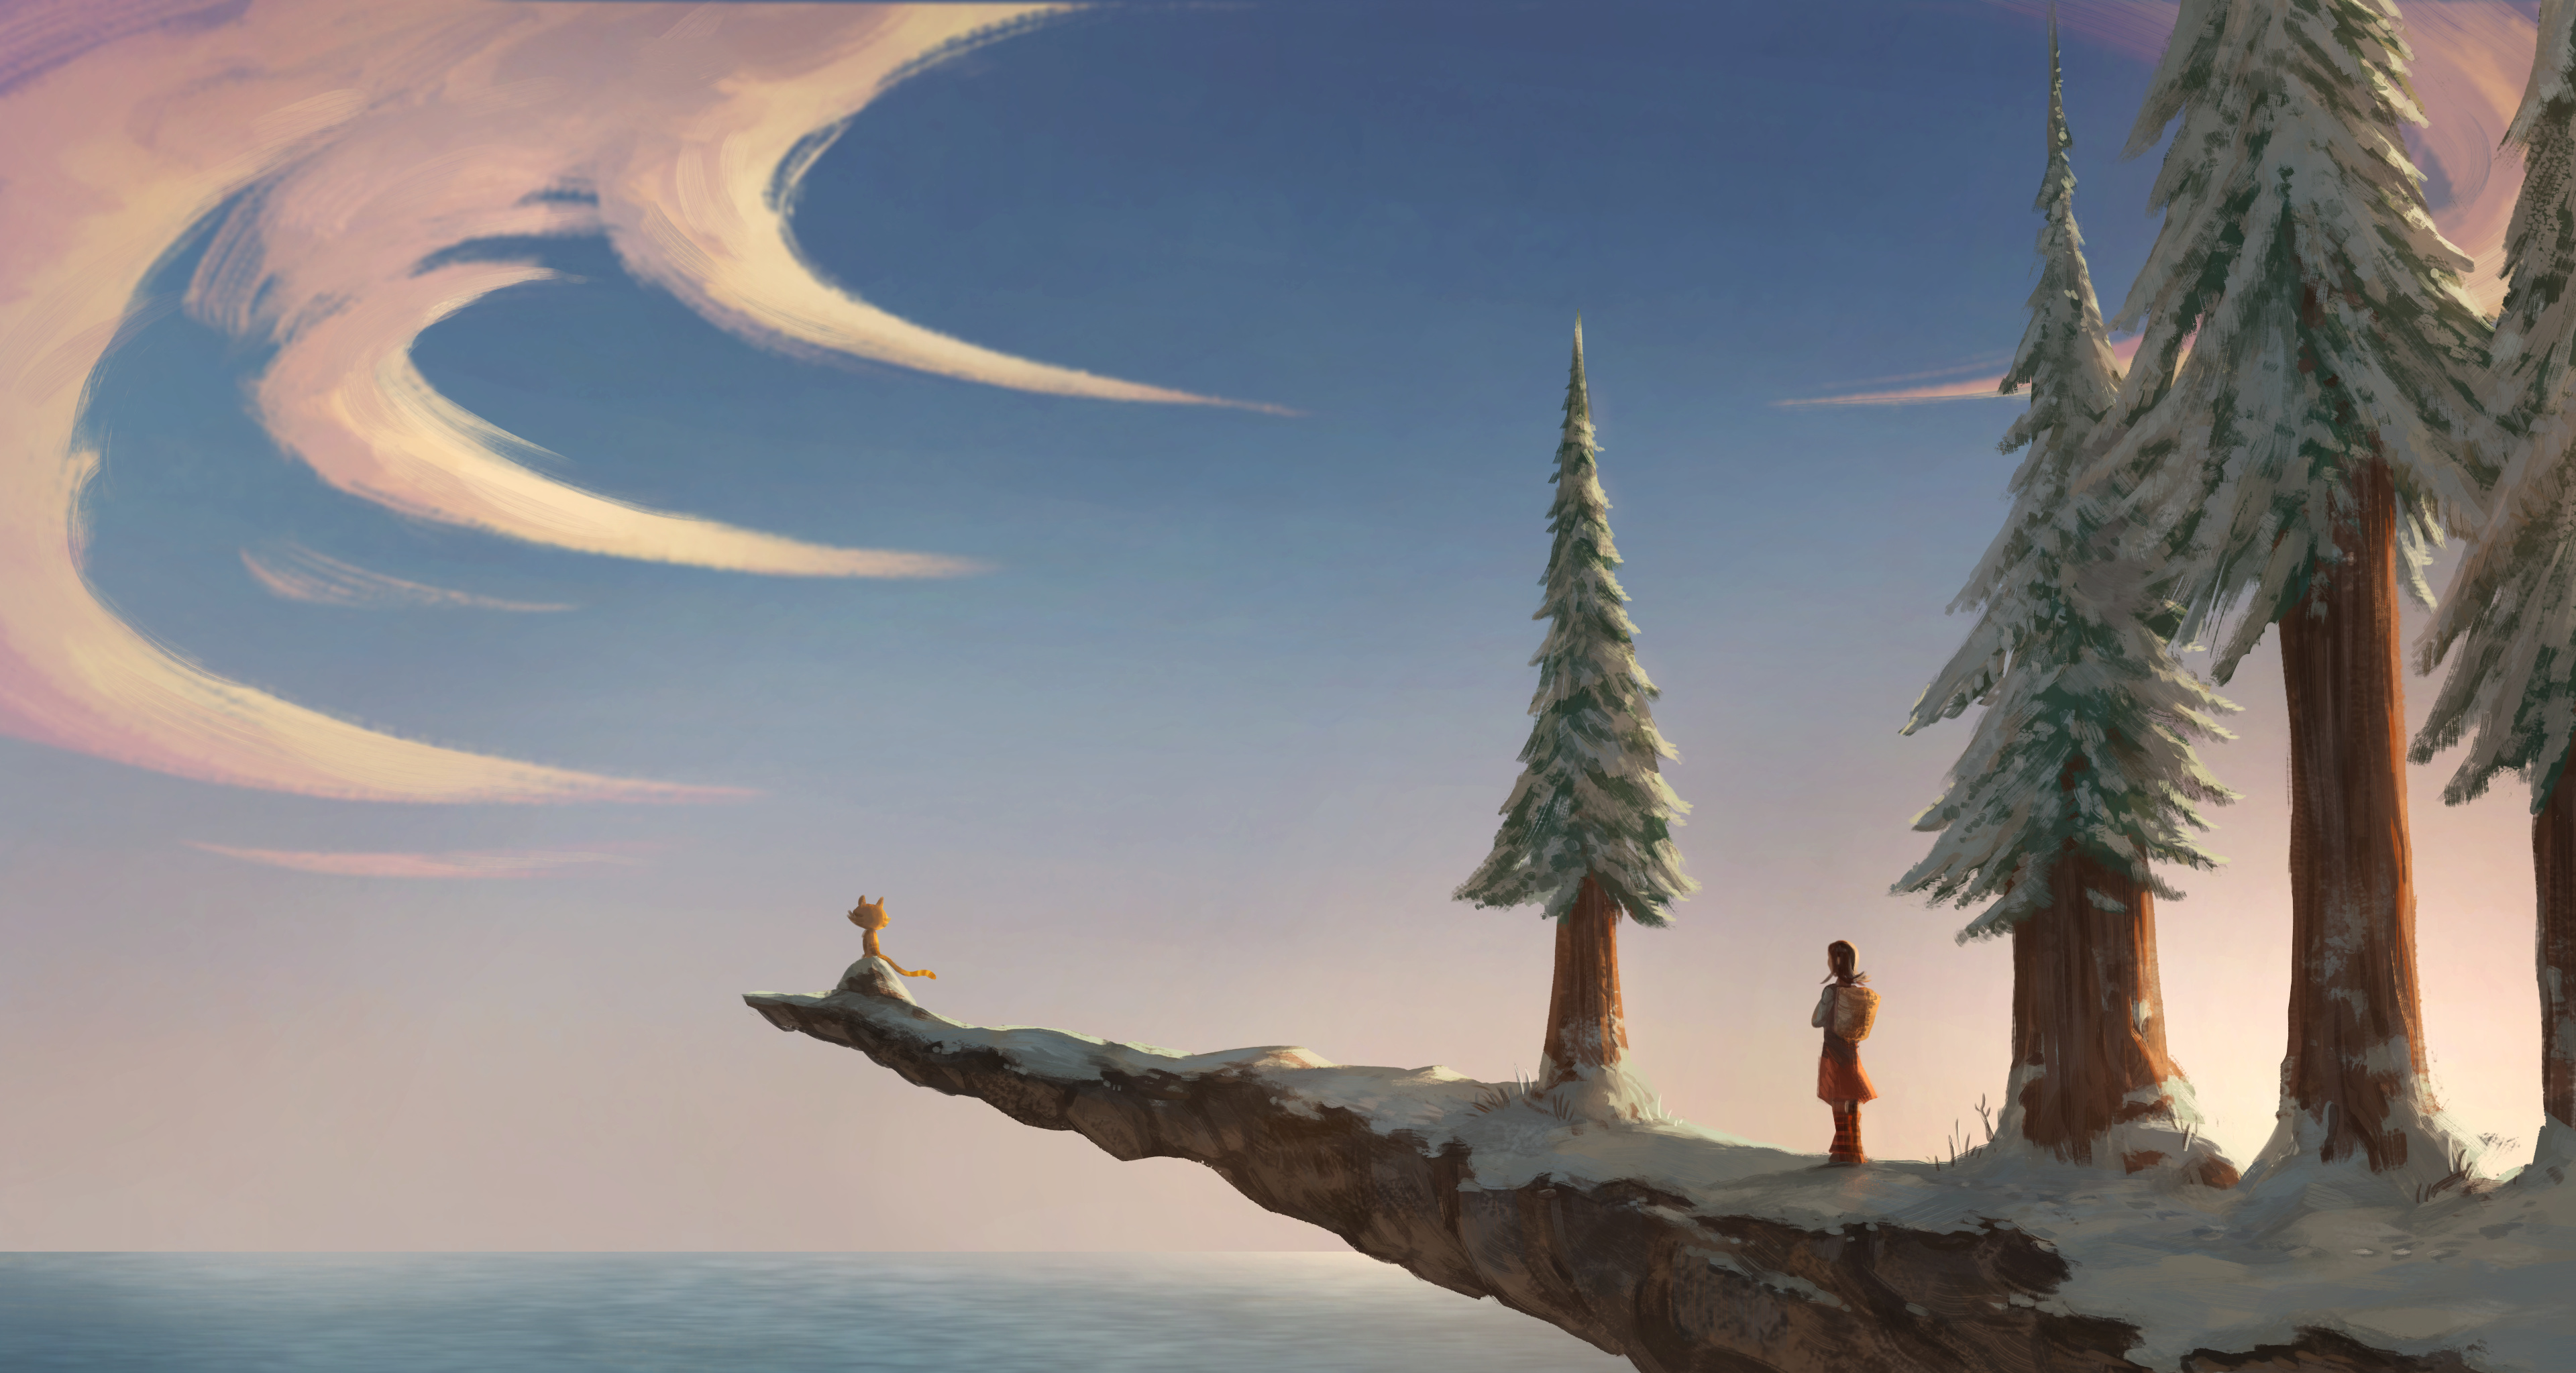
- 4k Wallpaper: https://www.davidrevoy.com/data/images/blog/2022/2022-12-18_point-of-view.jpg
- Source of the artwork: https://www.peppercarrot.com/en/artworks/artworks.html
These steps make it easier to make my Digital Painting at the end of 2022, and you'll see many of my artworks with a similar process: a large sketch or storyboard, then a thin temporary line-art, then a silhouette on multi layer, then a color flat, a shading and to finish with a paint-over and post-effect. This is a tutorial doesn't dive into the details, but keeps an overview of the workflow, the goal is to give an idea of the full path and to give tips on the way. I hope showing my recipe will inspire you to start a drawing to test something you'll find interesting and find your own path.
Timeline:
- 00:19 Thumbnail (or Sketch)
- 00:57 Drawing
- 01:41 Silhouettes
- 02:26 Color Flat
- 03:31 Shading
- 05:46 Paint-over and post effects
Transcript
Intro
Hello, Bonjour, My name is David Revoy and today, I'm proposing a video overview of my recent digital painting workflow with Krita. I'll comment the timelapse picture of the illustration you can see right now on your screen. So, let's start.
Storyboard/thumbnail
Preparing a thumbnail, or a sketch with a large brush always helps me to solve on of the main problem when I start an illustration: What to paint? Where to paint it? How to organise the composition? Seriously, once this step is done well, and I have the result I want in mind, everything is so much easier.
Sketch
Once I have the idea and the main composition, I reduce its opacity and start to draw over with a thin line. I'm not making beautiful lines like I would do for a comic book line-art. This layer will be hidden later in the process, so I'm not putting pressure to 'draw well'. The main goal of this step is to solve anatomy, hands, perspective, solidity of objects. It always saves a lot of time later to get that done early. Mainly because correcting things while painting with little adjustement here and there can be very time consuming.
Color Flat
When my thin lines are done, I reduce their opacity and hide my thumbnail. At this point, I'll start to split all the main shapes, layer after layer. For a landscape, it often mean foreground, middleground, background. But the number of layer is fluid depending the complexity of the scene. I'm not naming my layer but I prefer to enlarge the size of the thumbnail at this step. Why? Maybe because you'll see, Krita is not really good at preserving the name of layers for what I'll do later so it is a lost of time.
Once my silhouette shapes are painted, I lock the opacity of the layer, so I can paint only inside the shapes, and then I paint a pass with flat color as if they were under the light of an overcast. It's like the light of a cloudy day. The light comes from all directions and the colors are not too vivid, only deep contact shadows can be visible. It's a bit easier for me to start texture rocks and trunk of trees this way. It will also help me to keep a color consistency across many panels when I'll paint future episode of my webcomic Pepper&Carrot.
Shading
Once I painted the scene totally like that, I start to put all the layers inside clipping groups. You can use the keyboard shortcut Ctrl+Shift+G to put a layer quickly in a clipping group. The layer stack becomes quickly a mess, so I usually need to dezoom the layer stack and I start to rename the layers. I name the groups, I name the layer base, and I fill the layer on top of my base with a middle RGB gray color 127,127,127. I like to drag and drop a color slot of my palette on the canvas to do that. I also switch the layer to the blending mode "Hard Light". Hard Light is a blending mode where middle gray will be rendered as a transparent color. Anything under this color will darken, something good to paint shadows, and everything up to this color will brighten, good for our highlights.
At this moment, I also enter a command line to modify a setting of my tablet: I switch the Ctrl+click color picker that I have on the first button to a Ctrl+Alt+Click action. This Ctrl+Alt+Click shortcut will pick only the color on the current layer. This will be useful for painting and picking the colors of our shadows and light. That's why I filled the color with a solid middle gray: it's because the color picker doesn't works really well when the layer has transparent colors. Because the shading layer is clipped to my base shape, I can then shade all the scene. I usually start by finding the good couple of Key-light and shadows. I later think about the half-tones , indirect lights, specular points and highlights, it's not really a problem because this type of layer is really flexible to change my mind and it's great because I can fully focus my attention on lighting the scene and trying to get the best out of my designs.
Paint-over
Unfortunately, the method rarely ends up on a Tadaaaaa! everything is done, and I dislike some rigidity in the shapes. That's why nothing replaces a manual paint-over pass to give a more organic look to those parts. I often merge at this point the clipping groups. It's a bit annoying to do because the merged result is auto-renamed with the word "Merged" at the end, but Krita will have soon an option in 5.2 to prevent this.
Post
At the end, I'm using the Adjustement Layers to fix the contrast. I also use very often the Color Balance this way, or Lens Blur, when I have to simulate the depth of a shot. On other classic I'm using, I add a layer with the "Screen" or "Luminosity SAI Tool" or "Color Dodge" Blending mode on the top to simulate light coronas and other bloom effect. It's also easy to add with a multiply blending mode a vignette effect to the overall, but this illustration won't need this effect.
Conclusion
All in all, this way to build my illustration learnt me a bit more discipline because of how the steps are organised... But on the bright side, I enjoy the flexibility of splitting my steps. I hope you'll find it useful! Have a good painting time.
License: Creative Commons Attribution 4.0 International
Video and artworks by David Revoy
www.davidrevoy.com
webcomic: www.peppercarrot.com
Background music by Omfgdude "Lofi-Hip-hop"
CC-0 / Public Domain - 2018
https://opengameart.org/content/lofi-hip-hop
😍 Special thanks to @RinCat@meow.cloud on the Fediverse for saving a corrupted MP4 recording of this video.
Edited with Kdenlive 21.04 appimage on Fedora 37 KDE
