


Compile Krita from source code on Linux for cats
Intro :
Changelog:
- [2019-03-28] The guide was ported to Krita official documentation here, thanks to Wolthera.
- [2017-09-09] Remove specific obsolete notes
- [2017-08-20] Krita 4.x, and specific notes for Linux Mint 18.2 / Ubuntu 16.04
- [2016-04-24] moving from calligra repository, Krita 3.0, adding library for plasma/Qt 5.0
- [2015-05-07] Refactoring for using the 2.9 branch while Krita split Calligra
- [2013-11-18] First publishing, during Krita 2.7 development
Why?
I wrote this guide after maintaining during a full-year a set of scripts to help user to compile and install Krita. This project was named Compilscripts. I decided to discontinue it because the script was always breaking. But this script was useful for many artist who wanted to beta-test Krita. So I had to find a solution and I thought the best approach was "the Arch-way": not providing any automatic tool, but a badass and dead-easy documentation to make artist independent in the full process and understand what they do. Artists should be able to install, update, go back in the history of code if something doesn’t work for them.
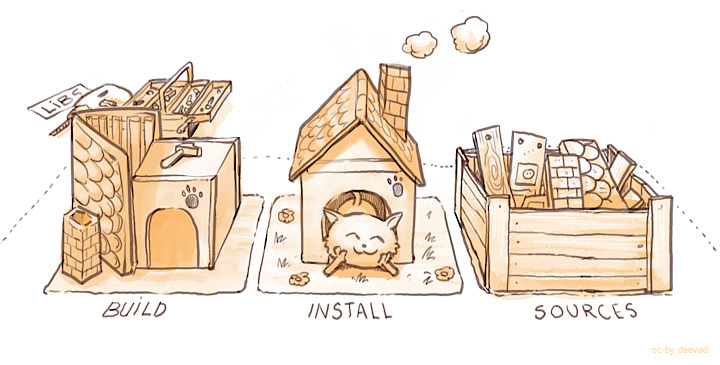
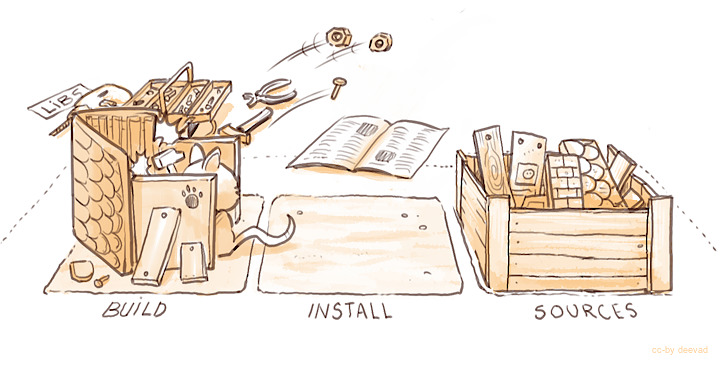
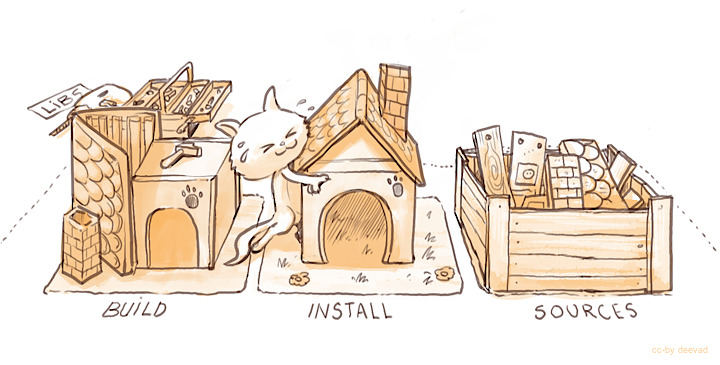
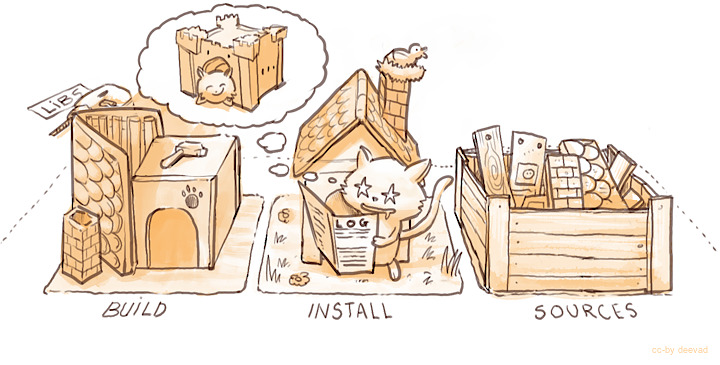
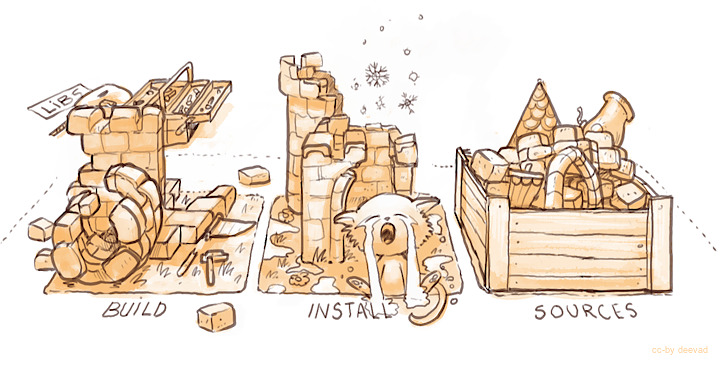
I also decided to illustrate the article with funny pictures (all licensed under CC-By). I hope those pictures will also help other project's documentation to be more user friendly and appear more simple to understand by using a simple analogy : a cat building a house.
But why for cats ?
Because it's well known on the Internet : you can't go wrong with cats. =^.^=
Let starts!
Setup directories
 First obligatory step : preparing the place. Around 5GB of disk space will be needed on your home folder. We will set the structure advised by developers :
- /home/<your-user-name>/krita/src for the source code.
- /home/<your-user-name>/krita/build where Krita will be built
- /home/<your-user-name>/krita/inst where Krita will be installed
Note : understand <your-user-name> as your user name on this documentation ( Ex : /home/deevad/krita/src )
To do it, open a Terminal, copy the line under (Ctrl+C) then paste it on the Terminal (Ctrl+Shift+V ) :
mkdir -p ~/krita/src ~/krita/build ~/krita/instAlso check with your distribution package-manager that no calligra and krita packages are installed.
Use the search field of your package manager and remove packages.
Get the source code
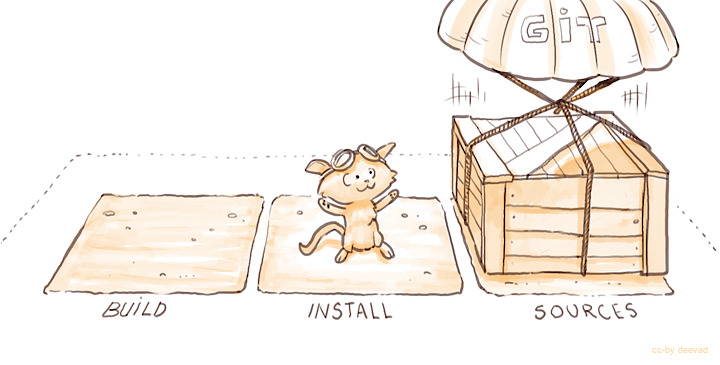
Navigate your folder using the command cd ( change directories ) and the tab key for auto-completion.
cd ~/kritaInstall git from your distribution package-manager ( eg. for Ubuntu; sudo apt install git )
Then ask git to download the source files in your src folder, pasting this line code in the Terminal , on the ~/krita directory :
git clone https://anongit.kde.org/krita.git srcSo we enter the Krita source folder, then check if everything is updated :
cd src
git pull
Get the libraries and dependencies
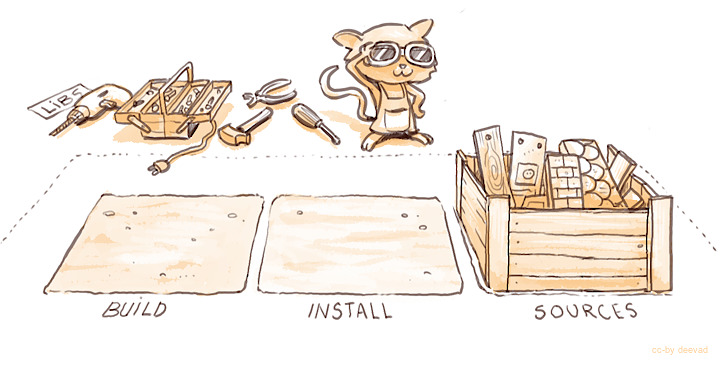
This part can be tricky : each distribution got a different way to manage packages and so installing required libraries.
Krita needs a large amount of very fresh libraries and you'll need a GNU/Linux distribution with fresh packages for that ; CentOS, Debian Stable, Linux Mint, Elementary or Ubuntu L.T.S are often too outdated to build Krita...
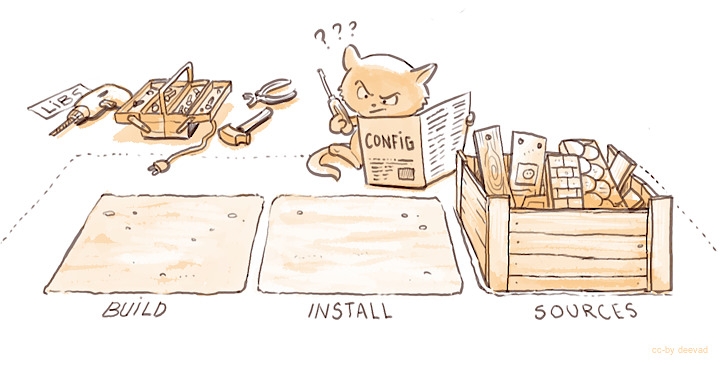
Not so long ago, the community around Krita had a place to share installation instruction for dependencies (the KDE Community Wiki) : https://community.kde.org/Krita/linuxbuild , but it was cleared recently....
Now and according to the dev you need "to read and understand the cmake output instead". That sounds complex at first, but it is not: it's just very long to do. You first need to run cmake. It exits with a warning asking for eg. "PACKAGE5". You note the name. Then you use your package manager to install anything related to PACKAGE5 because of course the name will differ (packagers love to get their own name for things). So, you'll try: lib_pck5, packg5, five_libs-package, libP5.0.0.04 until the cmake doesn't complain anymore. If you accidentally destroy your O.S. because of the trial and error process of installing random libraries that collide with larger dependencies: just reinstall your full OS later with your precious list of package name that finally worked. (sorry, I don't have other simplier and faster solution to propose nowadays.)
Configuring
Configuring with cmake will check if your system is ready and if you get the good libraries installed. So, if any configuration problem happen you'll be able to read what libraries are missing as mentioned previously. That's why it's important to read if all is ok.
Also, we will inform cmake our directories structure :
cd ~/krita/build
cmake -DCMAKE_INSTALL_PREFIX=$HOME/krita/inst $HOME/krita/src -DWITH_GMIC=ON -DCMAKE_BUILD_TYPE=RelWithDebInfo -DPRODUCTSET=ALL -DPACKAGERS_BUILD=ON -DBUILD_TESTING=OFF -DKDE4_BUILD_TESTS=OFF
Building
After reading the configure output, if all sounds ok , then it's time to build your own Krita.
Still on the folder /krita/build, call make with -j<number>, where <number> has to be replaced with the number of parallel job your processor is able to do ( and +1 recommended sometime ). Mine is a 8 core, let's use -j9 .
make -j9 Tip : if you don't know the number of core you have, this little command will answer you the number :
cat /proc/cpuinfo | grep processor | wc -l Installing
If make built all the part of Krita without getting a mistake, and till 100% , you can ask make to install it in our install folder.
make install -j9Path and environment variables
 Your install is now done, but your system will not consider your install folder as a part of your system's application.
Let's show to your system the right path, inside a Terminal, copy line by line :
export KDEDIRS=$HOME/krita/inst:$KDEDIRS
export PATH=$HOME/krita/inst/bin:$PATH
Unfortunately those environment variable are not persistent, and will be lost after a shutdown or a restart of your system and our bridge will collapse.
To set them at any login , write them with your favorite text editor at the end of your ~/.profile file ( on certain distribution, the profile is named xprofile , check your hidden file in your home/<your-user-name> folder ).
First run
Congratulation ! you can run "last-Krita-from-a-minute-ago" by typing krita on a Terminal or via your desktop main menu.
If this one doesn't show Krita, look at your desktop-environment 's documentation : "how to create a custom launcher" .
Updating
You've heard of a new feature developed , or you read about an annoying bug fixed, and want to update ?
Fine, call git again . This time it will only append to your source folder the missing code lines. Not downloading the whole source pack.

cd into the source folder, then ask git to pull to update your source :
cd ~/krita/src/
git pull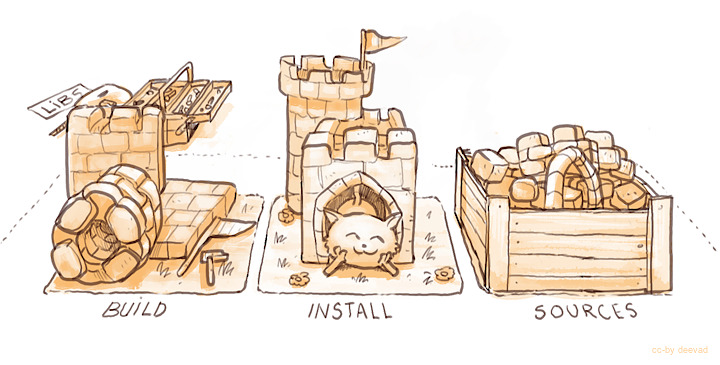
But updating the source will not be sufficient ; to experience your new Krita version, we need to repeat the configure,compile and install process :
cd ~/krita/build
cmake -DCMAKE_INSTALL_PREFIX=$HOME/krita/inst $HOME/krita/src -DWITH_GMIC=ON -DCMAKE_BUILD_TYPE=RelWithDebInfo -DPRODUCTSET=ALL -DPACKAGERS_BUILD=ON -DBUILD_TESTING=OFF -DKDE4_BUILD_TESTS=OFF
make install -j8
If you update daily, you might like to automatise those command by making your own minimal bash script.
Rescuing
 Recent development version might break, and sometime be unusable. Experimental changes are made daily.
It might affect your productivity if you don't know how to 'go back in time' ( ex: your favorite brush doesn't work anymore ).
But If you know how to do it, no issue can really affect you, because you know how to come back to a previous state.
Recent development version might break, and sometime be unusable. Experimental changes are made daily.
It might affect your productivity if you don't know how to 'go back in time' ( ex: your favorite brush doesn't work anymore ).
But If you know how to do it, no issue can really affect you, because you know how to come back to a previous state.
 To travel the source in time we need to read the timeline history. The Terminal tool for it is git log
cd ~/krita/src
git log
With git log , you can consult all the last changes to the code, named 'commit' . What interrest us is the long identification number ( ex: cca5819b19e0da3434192c5b352285b987a48796 ). You can scroll git log , copy the ID number then quit ( letter Q on keyboard ). Then time-travel your source directory :
git checkout cca5819b19e0da3434192c5b352285b987a48796 Now, configure, compile, and you'll be again in a safe place. Note that I advice the packages gitg or gitk to have a graphic user interface to visualise git history. Also an online version exist here .
To update again to the actual and fresh from a minute ago source-code named master , simply ask git to come back to it with git checkout then pull to update :
git checkout master
git pull
Conclusion
I hope this documentation will help many user to have good time using Krita development version.
Use the comments to give your feedbacks or ask questions, I'll do my best to update the information on this page.
Useful Links :
- Official Krita development wiki 'Build instructions'.
- The /krita/3rdparty/README.md file
- Krita Git activities and history
- List of the last updated Krita bugs
- Form to enter a Krita bug
- Krita blog
- Krita forum
- Krita IRC channel ( answer can arrive sometime after 1 or 2h, be patient )
Special Thanks :
Boudewijn Rempt, Aurélien Gâteau, M.Beast, Yu Asakusa, Matthieu Harel for feedback and help with corrections.
Gerson Alvarado for Spanish translation.
Translations available :
- Español, by Gerson Alvarado : Lewatoto's blog
- Polish, by Adam Druzd : Adam's blog
